Today is the kids' first day of school. 12 long weeks of summer are over. It seems the weather knew exactly what day it was, 'cause we went from almost 100 degrees on Friday and Saturday down to barely 70 today.
Here are some back to school things I made for the kids (Caution: picture overload!).
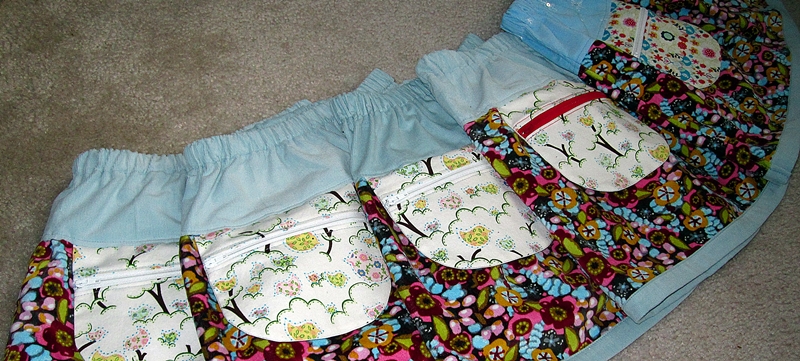
First a new set of dresses for the girls in simple pillow-case-dress-style.
The bottom is made from several different cotton laces, hand-dyed "apple green". After I had made my
orange lace skirt earlier this summer, the girls have been bugging me to have one, too. Unfortunately, I couldn't come up with the patience to sew together enough lace for two skirts, so I opted for this alternative. The girls like it nonetheless.
I little lace detail on top.
And matching hairclips made from leftover lace pieces.
Next: new pyjamas for everybody. These are the first nightgowns the girls have ever had. And they are in love with them! I used
this tutorial for them. It's super easy and quick. For the fabric I chose a very light and soft jersey and left-over flannel for the bias tape.
Even Yanic scored a pair of PJ-pants from the same fabric. Cute, to have all three of them matching, huh?! :D
A (long) while ago I bookmarked
this awesome tutorial and just thought of it again last Friday when I was going through Yanic's closet. Perfect timing, since many of his shorts are just way toooo short now.
I think this bottle holder will be perfect for soccer practice, since it will hold the water bottle and a snack and his phone.
Wanna know somethin'?! This bag was made from a pair of long pants, which turned shorts two years ago and are now a bag! What a life for some plain ol' cargo pants.... ;-)
Last thing, I want to show you today, does not score very high on the creativity scale. However, it's a slightly different approach to personalizing, so I wanted to at least post one picture of it. This is a simple, cheapo 1$ pencil case from Walmart with a picture collage on the back. I created the collage on the computer. I chose a pic of Yanic and logos of some of the teams he plays for. In the center is his name, school and grade. I printed it onto fabric and then simply sewed it to the back side of the pencil case.
Wow, that was a lot! Next post will be shorter! Promise!